Payload Bay and Body Tube
The payload bay's purpose is to interlink the nose cone and body tube. In the earliest form, it was just a simple extension of the body tube. Initially, it just served to house the parachute and to release it at right time by disconnecting with the nose cone, which on ejecting, drags the parachute out.
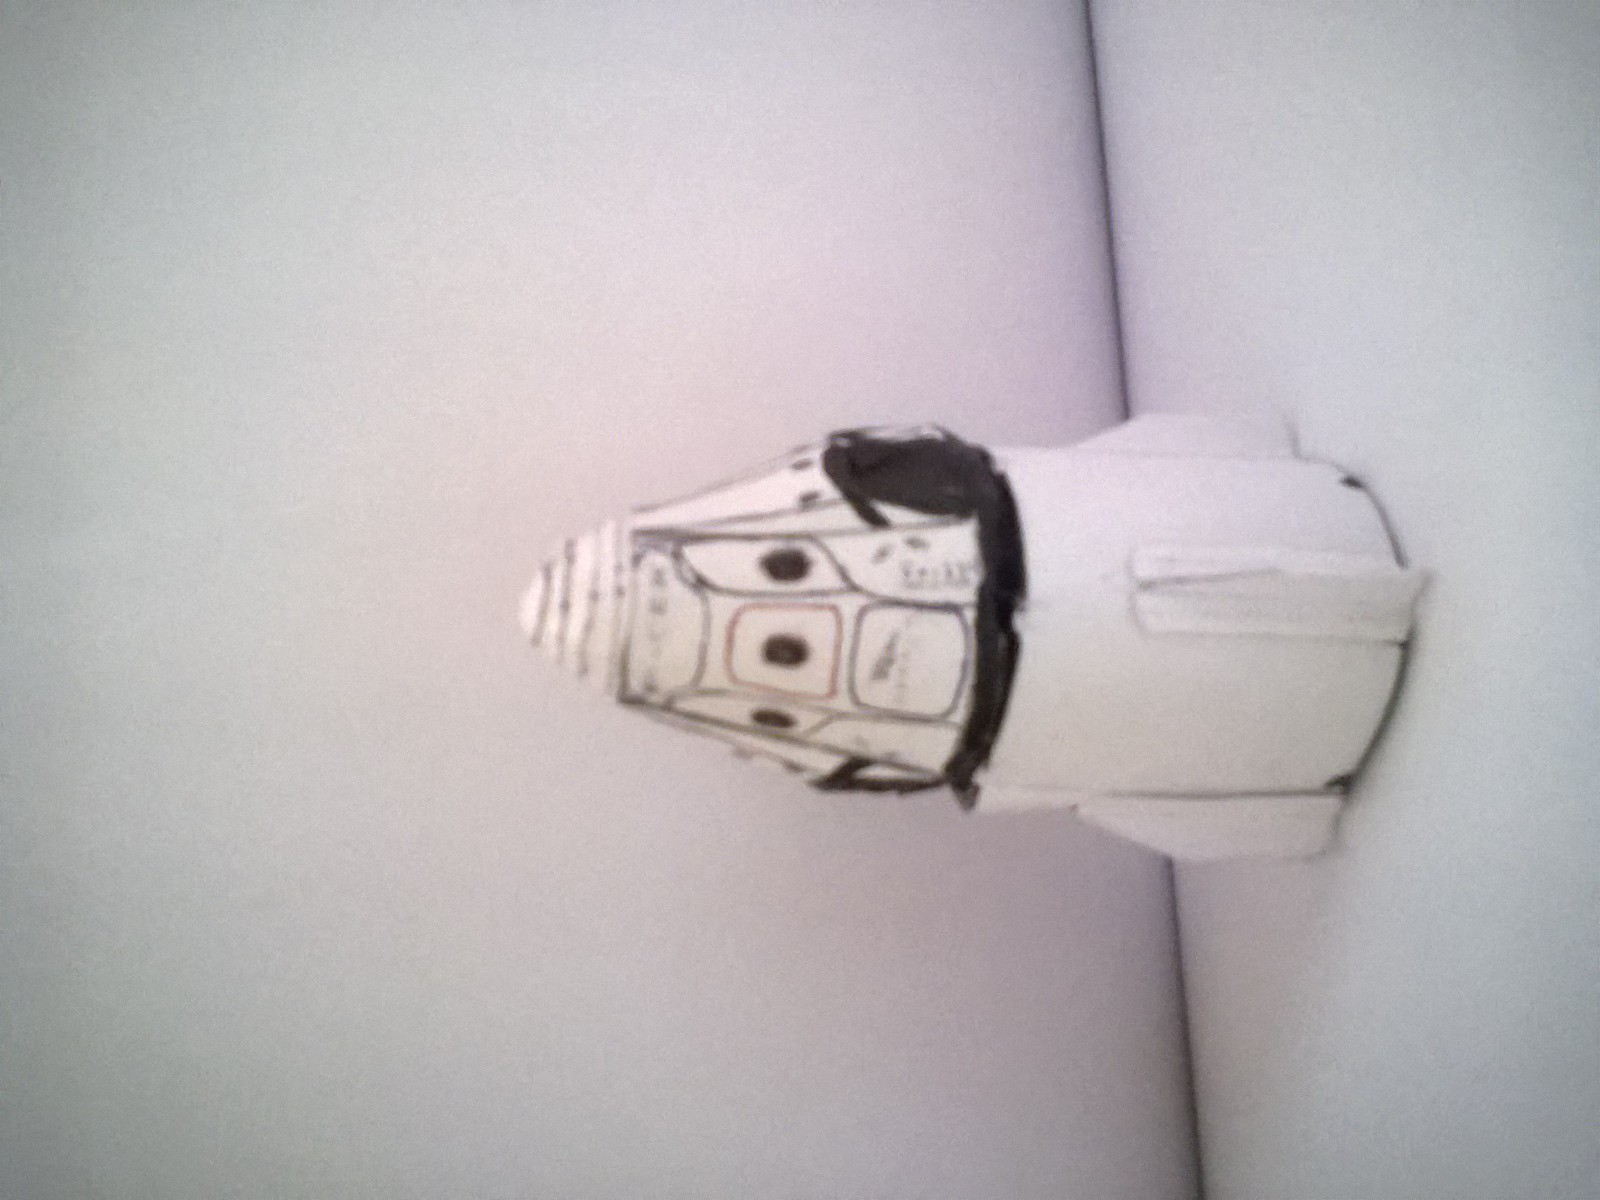 |
| Dragon v2 scale with the trunk as payload bay |
Now, considering the top end, it is connected to the nosecone through two points of contact. One, the parachute cord (shock cord) that's glued to the base of the payload bay and the base of the nose cone. Check out the recovery page for more information on Parachutes. For the other end, based upon the payload, its usually an extention of the body tube, or a separate unit that can be detached from the body tube. In that case, its usually a press fit connection.
In addition to the payload, the bay also houses the parachute ejection mechanism. Depending on the type of payload, the bay also is designed accordingly. If the payload is an atmospheric sampling sensor, then the bay needs to have pilot holes to allow air in. Or a slot to be cut to mount a flight cam.
Speaking of its construction, for specialized payloads such as electronics, as usual, 3D Printing was the way to go and in other cases, it's usually built with cardboard and / or integrated with the body tube.
Coming to the body tube, initially and even to this day, cardboard was the rasion-de-etre, due to its several desirable properties. Under cardboard, the best choice was usually cardboard packing tubes. Though they were stiff enough, it was usually of shorter length, or a broad diameter, and in some cases, the entire rocket had to be designed surrounding the body tube, which was mostly not desirable.
For custom body tubes, the following method was proven to be sturdy enough and at the same time, a non-complicated fabrication method. Once, the rocket diameter 'd' was decided (usually 40mm), cardstock was chosen as it was cheap and easily available in many stationary stores. Though πd gave the required length of cardboard to be rolled, after several experimentation, 3.06πd was chosen or 4.08πd for stronger tubes. Now, with the required length cut, from any end, a length 'd' is marked which signifies the actual length required for the tube. Now, before proceeding further, a dowel of diameter 'd' is chosen, usually a PVC pipe will suffice, is kept ready. In the cardboard, for the surface after 'd', wood glue is evenly spread and rolled over from the end marked with 'd'. The idea here is to create a cardboard-glue-cardboard-glue structure and when dried, will provide a tube that's sturdy enough. Now, the problem that may occur here is that the glue may dry early on while spreading over a large area. To avoid this, its better to do proceed in stages; applying the glue over a short length, then rolling it upto the glued end and repeating the process further on. It may be time consuming, but the results are always much better than having a botched up bodytube.
As far as the future is concerned, i'm envisioning that this material and method shall remain for a long time.